Give Your Wooden Oars a Fresh Life This Fall
posted by
Even though I’m still mentally stuck in summer, this time of year always has me reaching for a sander ocassionally instead of a fly rod. Fall and winter are prime “boat shop” seasons — a good time to do the small projects that keep your gear in shape. For me, that usually means giving some love to my wooden oars.
I’ve always been partial to wood over composite (more on that another time), but owning wood means the occasional maintenance day. Bare wood and water might make beautiful music for a while, but it’s a short-lived duet without proper protection.
If you love the smooth pull of wooden oars or just how timeless they look, bringing a tired pair back to glory is surprisingly simple.
Ask a dozen boat folks how they do it, and you’ll get a dozen (very passionate) answers. Here’s the process that works for me.
Step-by-Step: My Oar Refinishing Routine
1. Prep your workspace.
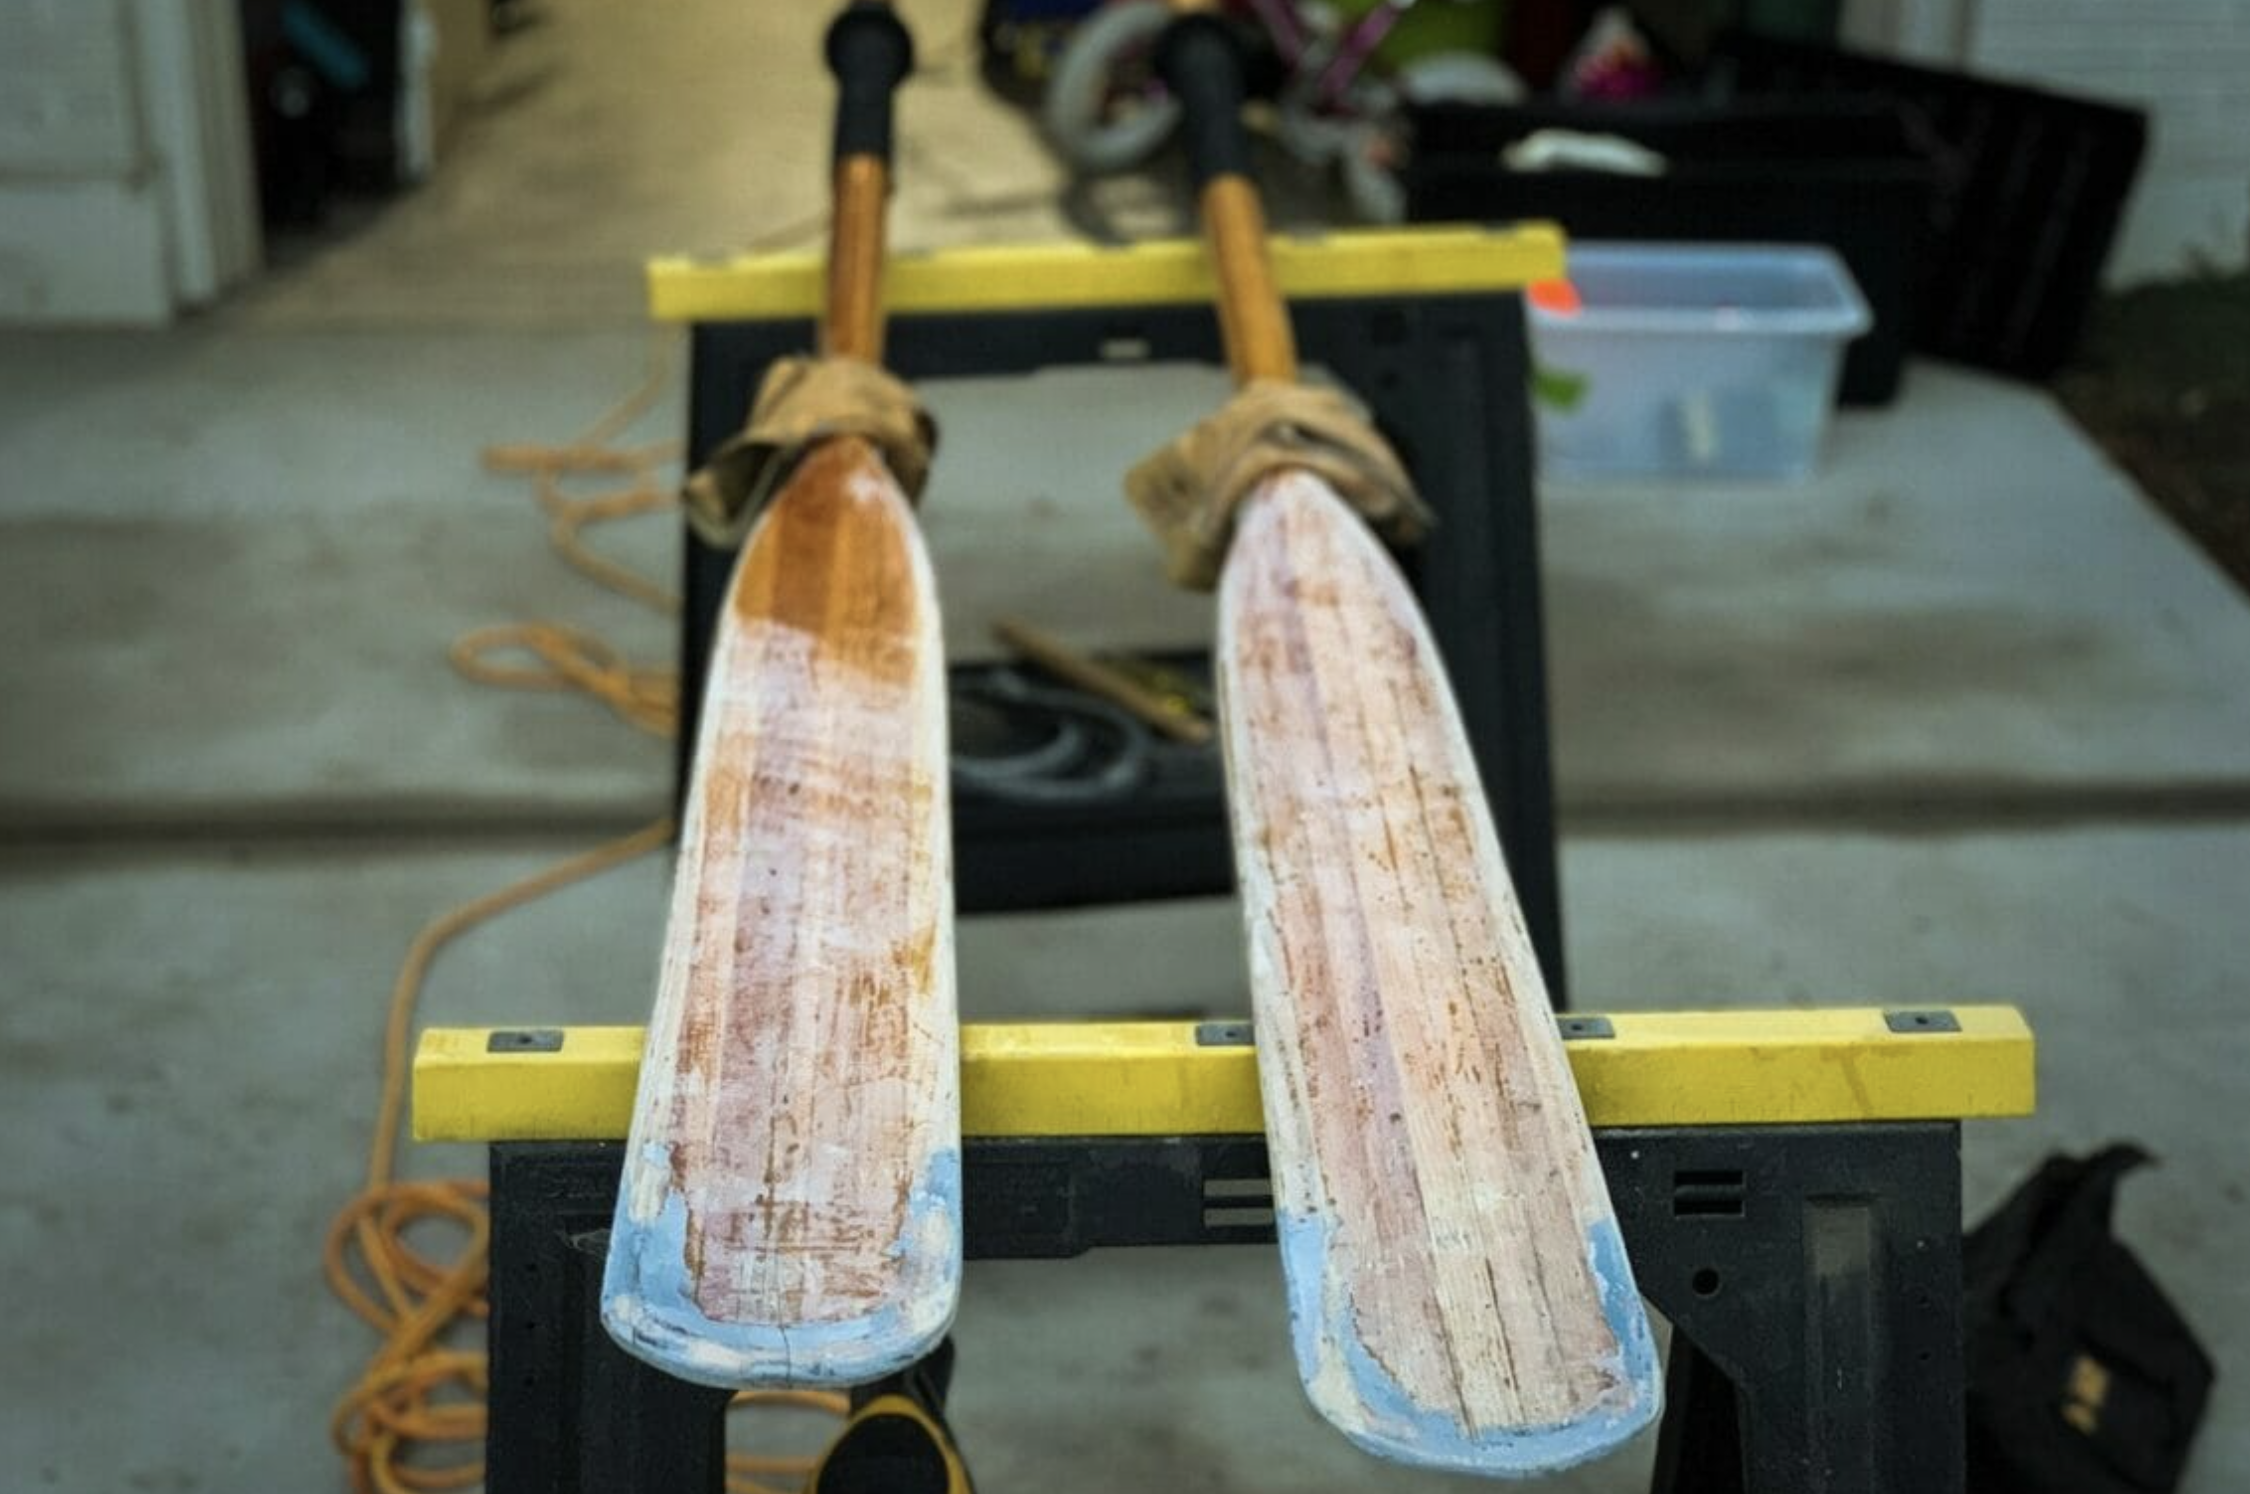
Do your sanding outdoors if possible. Wear latex gloves and a respirator — your lungs will thank you. Use blue painter’s tape to protect rope wraps, grips, or plastic sleeves.
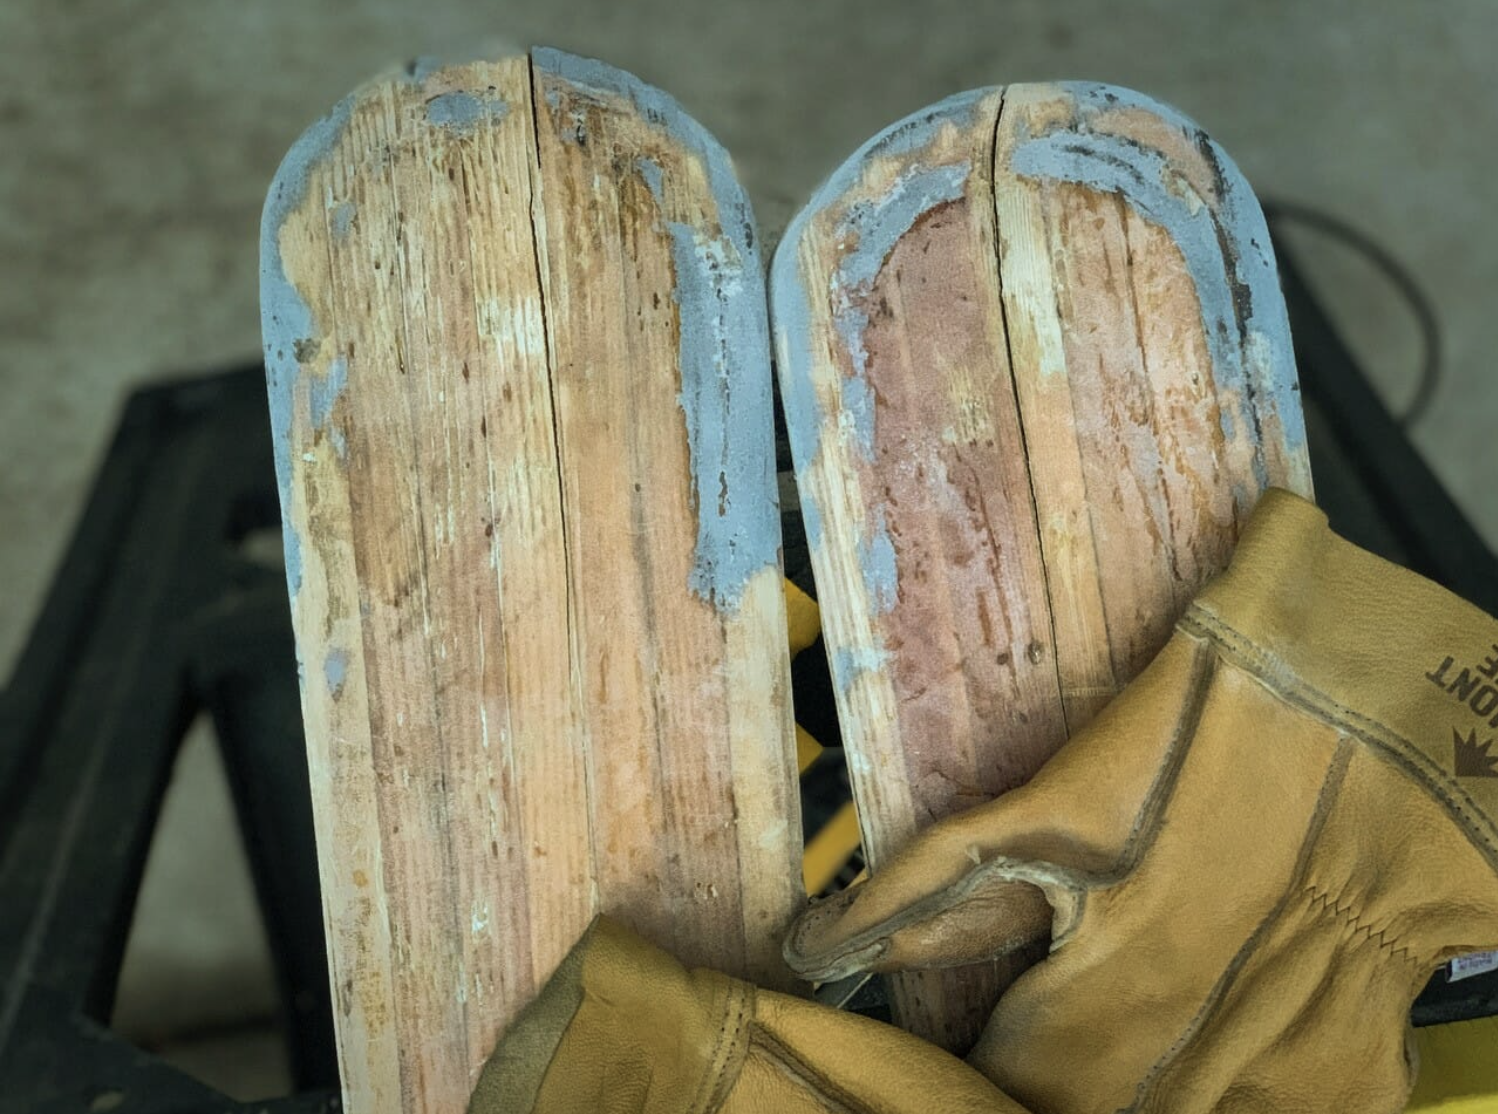
2. Sanding: the patient part.
You’ll need a couple sheets each of 60- and 120-grit paper per oar. A variable-speed orbital sander works great on the blades. For the shaft, skip the power tools — hand sanding avoids flat spots. Move with the grain until the finish looks dull and uniform.
3. Seal exposed wood.
If you’ve got bare spots from years of hard rowing or a few river rock encounters, coat them with a quality two-part epoxy. Two thin coats will do it. This step is critical — seal before you varnish. Search “oar epoxy repair” for more detailed guidance if you’re new to it.
4. Clean it up.
Blow off the dust with compressed air, then wipe everything down with denatured alcohol.
5. Tape off again if needed.
Any area you don’t want coated — handles, wraps, etc. — gets the blue-tape treatment again.
6. Set up your varnishing area.
Move indoors to a clean, dust-free space. A dirty room will ruin your finish. Drop cloths on the floor, and support the oars by their tips so you can reach all sides. Hanging them vertically works even better if you’ve got the space.
7. Final dust removal.
Use a tack cloth just before brushing on varnish to lift off any fine dust particles.
8. Choose the right varnish.
Go for a marine varnish with UV protection. I’ve had great luck with Interlux Schooner Gloss — looks sharp and holds up well in the sun.
9. Safety check.
Respirator back on. Always.
10. Brush technique.
Dip your brush in thinner (brushing liquid) before starting. It helps the varnish spread evenly and makes cleanup easier.
11. Apply the varnish.
Smooth, single-direction strokes. Watch for drips or stray brush hairs. Don’t overwork it — varnish will self-level. Less is more. Let dry for 24 hours.
12. Between coats.
Lightly sand with 220-grit, clean with alcohol and tack cloth, and repeat. Two to four coats usually do the trick, depending on how shiny you want to get.
13. Cure, then get rowing.
Wait a full day after the final coat before getting them wet. Then hit the water and admire your handiwork.
Final Thoughts
Refinishing oars isn’t rocket science — it’s a blend of patience, attention to detail, and a little affection for old wood. Once you’ve done it once, you’ll probably start looking around for other pieces of your boat setup that could use a little TLC.
And remember: good varnish and clean prep go a long way.
Go forth and row shiny.